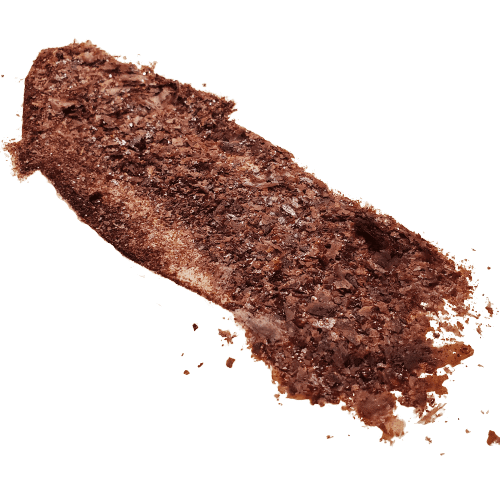
You can think of dried blue lotus extract as a concentrated, powdered love potion.
What makes it a love potion, though?
Blue Lotus flower is claimed by many to naturally enhance libido. We went over the details of the effects of blue lotus here.
The video at the top of the page corresponds with this article, and provides an audio-visual tutorial on how to make a love potion powder from Blue Lotus as well as a comprehensive review of the effects. And best of all, it’s delivered with creativity and humor throughout. Not a dull moment!
The steps can be found through the following timestamps:
► 00:42 Step 1 | Baking sheet
► 01:13 Step 2 | Preheat oven
► 01:29 Step 3 | Spread tincture
► 02:09 Step 4 | Cook for 1 hour
► 03:14 Step 5 | Remove from oven
► 03:36 Step 6 | Re-spread liquid
► 03:59 Step 7 | Put back in oven for 1 hour
► 04:28 Step 8 | Check progress with toothpick
► 04:52 Step 9 | Put back in oven for 1 hour
► 05:21 Step 10 | Test with toothpick again
Bonus chapters:
► 06:27 How to properly store your extract
► 07:11 How to prepare (filling/folding Oblate Bags)
► 08:29 Review/Experience report (Does it really work?)
.
..
…
But for those looking for a printable recipe, this article works perfectly.
…
(Article contains affiliate links)
What you’ll need to make a Love Potion (Blue Lotus Extract)
Love Potion Ingredients
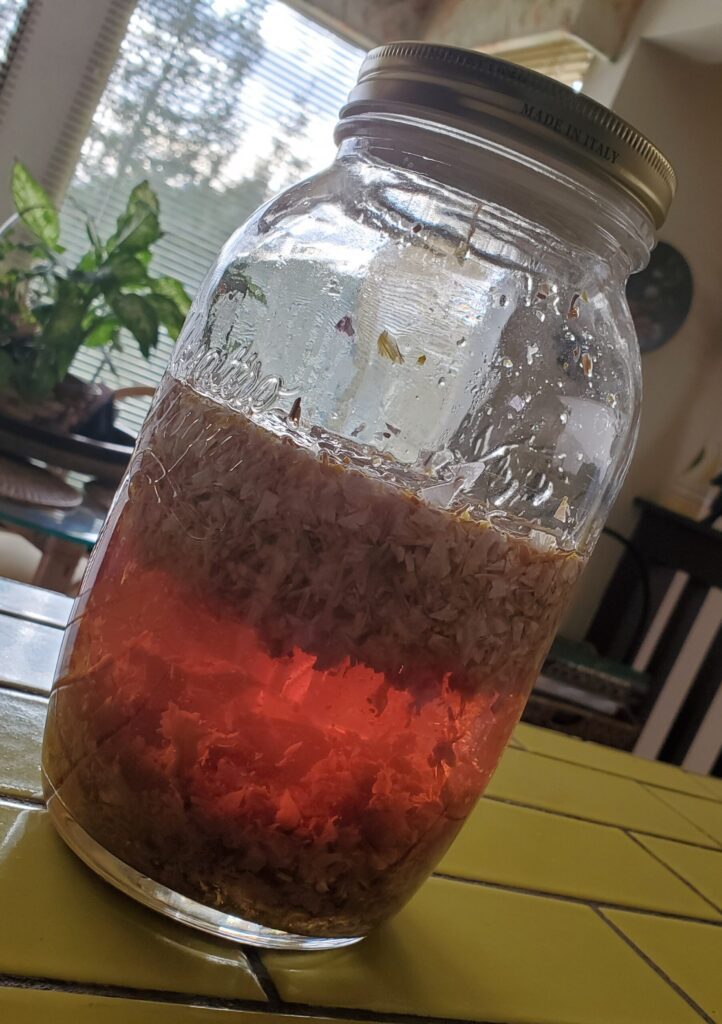
You’ll need your 15x Blue Lotus liquid tincture, made directly from the flowers (tutorial for that is laid out in this previous article)
…
And that’s it…
Tools
How to make a love potion
Step 1 –Baking sheet (00:42)
For this step, you’ll need parchment paper and a baking sheet.
Cut out a piece of parchment paper that fits the size of your baking sheet, then work your parchment into the edges of the baking sheet. Now, drizzle your blue lotus tincture (made with the last article) evenly across your baking sheet.
Step 2 – Preheat oven (01:13)
Preheat your oven to 200 F (93 C).
Step 3 – Spread tincture (01:29)
For this step, you’ll need a spreading tool (like the one in the video).
Use the tool to spread your liquid evenly, into every corner of the baking sheet. You don’t want to leave any parts uncovered. Avoid letting the liquid pool in certain areas.
Step 4 – Cook for 1 hour (02:09)
For this step, you’ll need a butter knife (or similar).
Place coated tray in preheated oven for 1 hour at 200 F (93 C). But instead of closing the oven door like you usually would, stick your knife between the door and the oven at the top (as shown in video at 2:54). You want there to be a 2-inch gap, at the widest point, between the oven and door.
Step 5 – Remove from oven (03:14)
Remove tray from oven. If liquid is still pooling, then the extract is still far from ready.
Step 6 – Re-spread liquid (03:36)
For this step, you’ll need your spreading tool again. Use it to spread any pooling liquid evenly across the sheet before you put it back in. The side that faced the back of the oven likely cooked more quickly than the side in the front. So you should reverse the tray so the less cooked side faces the back this time, before putting it back in the oven.
Step 7 – Put back in oven (03:59)
Put back in oven for 1 hour at 170 F (77C). And don’t forget your “trusty knife” to keep the oven door propped open a couple inches! 🙂
Step 8 – Check progress with toothpick (04:28)
For this step, you’ll need a toothpick.
Once you take the tray out of the oven again, you’ll want to test its progress. But this time, you’re going to use a toothpick. Poke your extract with your toothpick in various spots on the sheet. If any liquid sticks to the toothpick, it means the extract isn’t ready yet. You want this stuff to be DRY. In most cases, you’re extract will need another hour in the oven.
Step 9 – Put back in oven for 1 hour (04:52)
Put back in oven for 1 hour at 170 F (77C). And use your trusty knife… blah blah blah. You know the drill.
Once it’s done, you’ll hear crackling when you take it out of the oven. This is a good sign and means it’s most likely ready. Before doing anything else, let the extract cool until all crackling stops.
Step 10 – Test with toothpick again (05:21)
For this step, you’ll need your toothpick (again), a rolling pin, and a larger piece of parchment paper.
Test it with our toothpick the same way you did in step 8. If nothing sticks to the toothpick, the blue lotus extract is done cooking.
Now that it’s done, you can flip your extract-coated parchment paper upside down onto the larger piece of parchment. Then use your rolling pin to roll over the paper until most (or all) of the extract has come off.
…
Congratulations! You now know how to make a love potion powder from blue lotus! 🙂

…
But keep reading the bonus content below to learn how to store and prepare your extract.
VVV
How to Properly Store Your Love Potion Extract (06:27)
Keep your dry extract in a glass jar with a rubber seal. Store in a dark place. I also recommend using a humidity pack. You can just recycle one from an old supplement bottle, if you want.
How to Prepare Your Blue Lotus Extract – Filling/Folding Oblate Bags (07:11)
After you weigh out 2 grams of extract (or eyeball it with a spoon), the best way to prepare your extract for usage is using small, edible starch pouches known as “oblate bags” (Sober Catboy’s affiliate link helps support his channel). Oblate bags are perfect for when you want to pack multiple grams of a dry powdery substance to swallow at once. They are much more time-efficient than packing capsules.
I recommend getting your oblate bags from Blate Papes. It’s a small American business that genuinely cares about its customers. I know the owner and he is passionate about what he does. He wrote an article about kratom potentiators that is highly relevant to people interested in plant medicine. Definitely check that out, if you want to know how potentiators increase the potency of kratom.
Use the instructions to set up your bag-filling stand (or follow along in the video), then place your oblate bag in the appropriate hole. Now, you are ready to pour your dry extract powder into the bag.
Now fold and seal your oblate bag. You want to fold down one side at a time while leaving the long side up. As shown in the video, you want to fold one side with your thumb, then fold the other side down over it with the index finger on your other hand. Kinda like wrapping a present or something. Then, lick the inside-facing side of the long end that is still sticking up, and fold the long end over the top so it sticks to to front side of the bag. Now, your bag should be sealed and ready to go. Follow the instructions in the video for information on the best way to get this thing down your gullet.
Review/Experience Report – Does this “love potion” powder really work? (08:29)
In the video, Catboy waited a full 30 minutes to really assess the effect of the Blue Lotus extract. However, he has reported effects as early as 10 minutes into it.
Here is a summary of Catboy’s description after using 2 grams:
- 10 minutes later
- Noticeable headrush or headband effect, a calm feeling of slight intoxication, and scattered thoughts
- 20 minutes later
- More noticeable head-high, a cozy warm feeling, a slight pleasant dizziness, and a light sensitivity. Colors were more pronounced and leaving tracers
- 30 minutes later
- Enriched sense of well-being and mindfulness, enhanced senses, increased libido/bloodflow, and improved focus on the task at hand.
…
All in all, the Sober Catboy has concluded that this Blue Lotus dry extract is, indeed, the closest thing we have to a natural “love potion”.
…
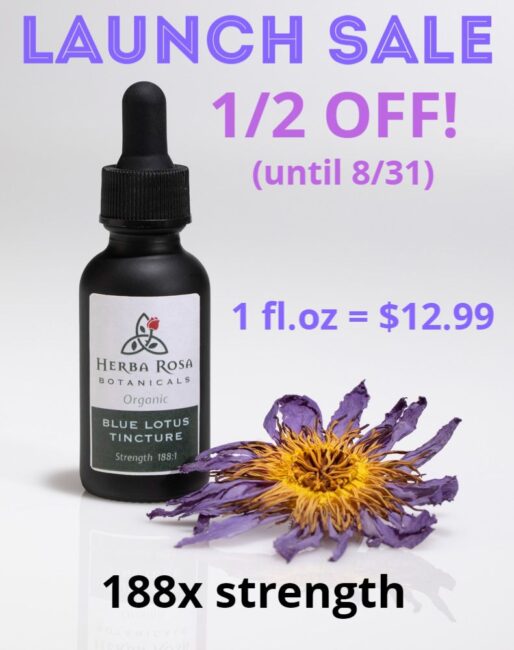
Stay tuned for the next article/video, where we show how to turn this dry extract into a liquid super-strength tincture, review its effectiveness, and show you the best place you can get your own Blue Lotus tincture without going through the hassle of making it yourself. (hint, it’s right here)


[…] Previous […]